
October 17, 2018

Woke up at 4:30 early in the morning for an early pick up of 5:30 to catch the sunrise at sandy beach. Crazy? yeah ! to some but not to me, why waste time, I won’t be in Hawaii forever 🙂
Rise and Shine!

This is a perfect tour for a female solo traveler who loves to take photos everywhere! Who doesn’t? Well ? If you are reading this, you’re guilty ! 🙂
Nope? alright I did not say anything.
I don’t drive so this tour was a triple treat! I got a transport, a friendly professional photographer and a lot of tips for taking a scenic places in Oahu. Perfect combination indeed!

Sandy Beach located at south shore of Oahu, located between Hanauma Bay Nature preserve park and Makapuu’u point on the East.
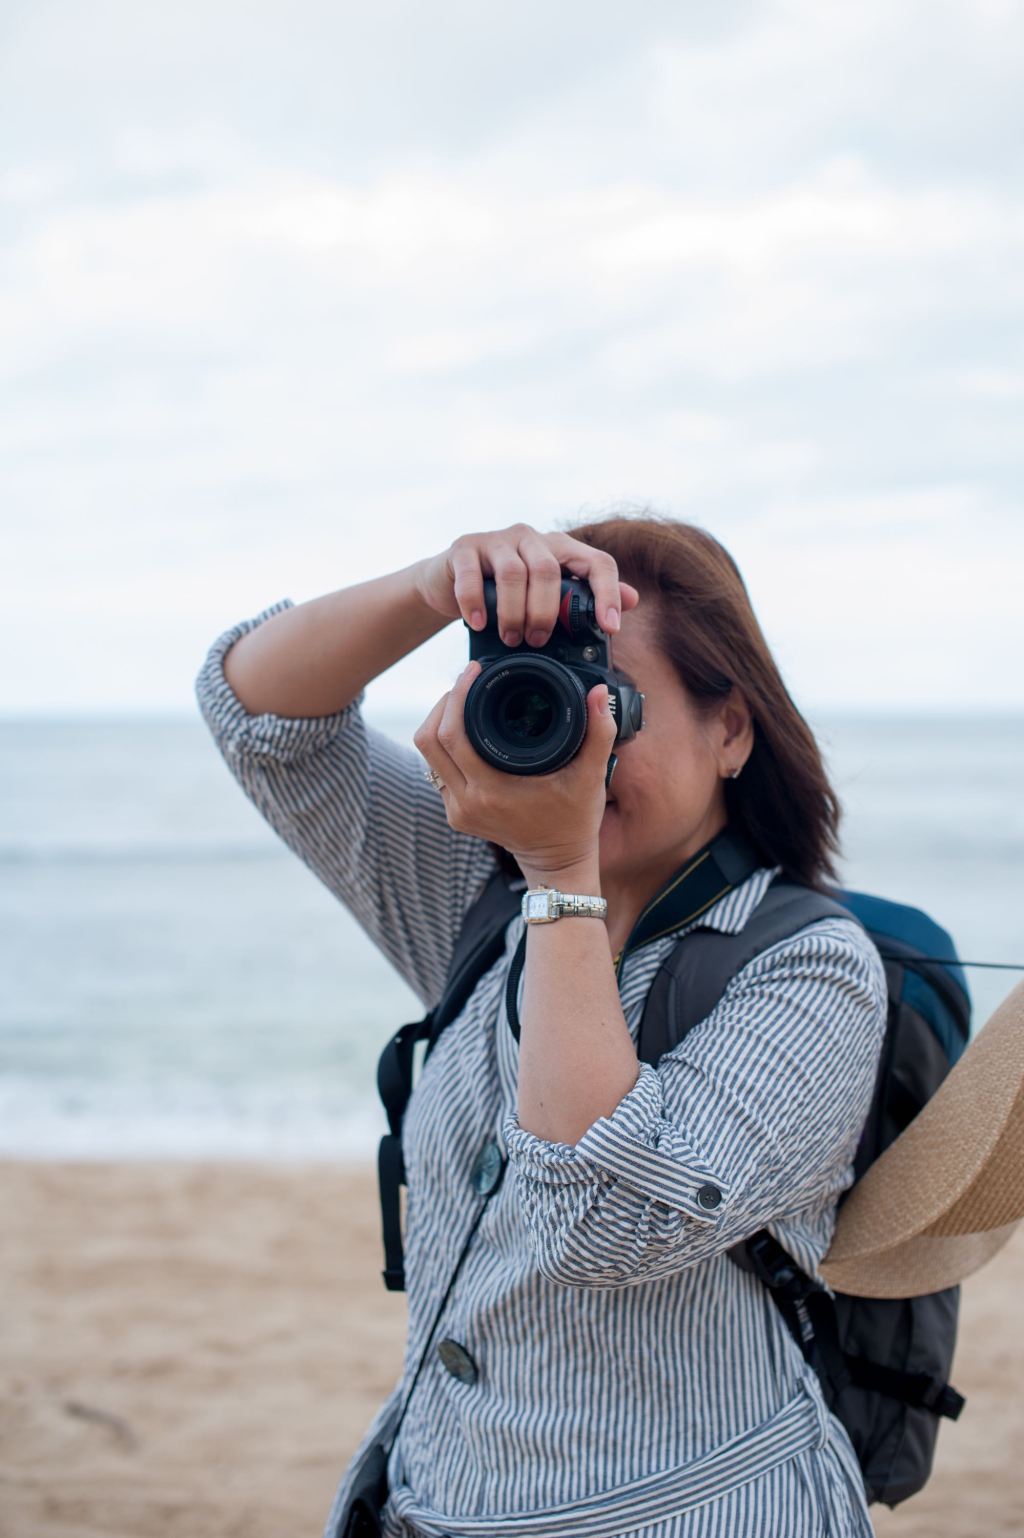
Lisa was bubbly and pleasant to talk with, we were only two, so that’s even make the tour better, all women 🙂 I’m glad I took two lenses with me a 50mm and 18-105mm lens. Lisa advised to use the 18-105mm lens. I hesitated for a while because I like the images that comes out with 50mm, I feel it’s more sharper but at the end, I followed what she told me. She gave me a tri-pod to use and I asked , should I use polarizer? Nope! and why they asked me to bring it anyway 😦
What is circular polarizer? What does it do?
- It cuts glare, when shooting water – ok no need for it bec it’s only 5 am and it’s still dark.
- for the Sky, it changes the color significantly, rotating the polarizer can make it dark or light blue
There’s no amount of bright sunlight yet so it won’t create an impact if I use polarizer. Got it!


Alright, I set up my camera and again..it was acting up, I look at Lisa camera (Canon) we have the same setting, aperture priority mode we tried F5,F8, F11 , my camera (Nikon) doesn’t give the same outcome. One tip I learned in this tour is about Exposure compensation setting.
Adjusting the Exposure Compensation can add drama to the scene or add more brightness to the scene. I was in Aperture priority mode, so adjusting the exposure compensation will adjust the shutter speed. By the way, my Cam D90 has little button on top with a positive (+) and negative sign (-) by pressing on it and moving the main dial to right or left will change the exposure compensation setting.

Makapu’u Point Lookout
As the sun rises up, we moved to Makapu’u point located just off Kanalianaole Highway on Oahu southeastern tip.
 “Rabbit Island” the Mañana island is across the Makapu’u look out point. Does it look like a rabbit head? I was told it was once inhabited by introduced rabbit after a rancher released them there.

Waimanalo Beach approximately around 3 miles long of white sand, I can sit here for the whole day, doing nothing , go home relaxed and re-energized. Perfect place to have a beach stroll and eat cold pizza 🙂

The beach is backed by iron wood trees which provides a lot of shades.


I forgot to ask questions about photography, I just took photos here and there…enjoyed the sun and shades, the sweeping of the breezy air gave me goose bump , remembering my friend who recently passed away.

After Waimanalo, we headed to see the Ko’olau mountains, actually we didn’t hike to the mountains, we just saw it on the road.. the Ko’olau range – dormant fragmented remnant of the eastern or windward shield volcano of Oahu


The long trip leads us to Kalapawai market for breakfast. This has been in Kailua since 1932.

To get to a more panoramic view of the Ko’olau cliffs, we headed to Nuuanu Pali lookout – is a site of deep historical significance, the battle of Nuuanu 1775 where King Kamehameha I, won the struggle which lead to the unity of Oahu under his rule.


Before we end the 5.5 hrs. trip we went to Tantalus lookout, it’s long winding road through the lash of Manoa, sometimes steep inclined on the way to the top!


And that was the end of the tour, forget the settings and enjoy the scenery 🙂
A wonderful day!
Cheers,
jamilamimi@beautybeyondfifty
©Copyrights protected


You must be logged in to post a comment.